Showing posts with label crafts. Show all posts

Monday, May 5, 2014

Teacher Appreciation Week: DIY Thank You Card

It's Teacher Appreciation Week! Let's all take a minute to thank the teachers in our lives. My mom is a teacher and I know how dedicated teachers are to their students. Their work day doesn't end when their students are dismissed and chances are they were hard at work long before the first student walked into their classroom every morning.

Teaching is a calling. It's not a profession that just anyone can be successful at.

I've always had a great appreciation for teachers, this feeling has grown since my own kiddo has started school.

This week is Teacher Appreciation Week and to celebrate I waned to share this little idea with you. I'm not a big fan of overwhelming teachers with trinkets and candy. I try to make teacher gifts meaningful and with a purpose.

This year, I made cards for the teacher's in our lives. Since my son is in Pre-K they have been working on handwriting and practicing their letters. I had the idea to make a card using his handwriting. Rather than just having him write "thank you" inside a card, I decided to try something different.

Yesterday, I had my son write "thank you" in sidewalk chalk. We added some decoration and then I took a picture:


I went to Walmart.com and used their online photo department to create a 5x7 card. I picked it up the same day and have it ready to go!

My son's school PTA has suggested a different gift for each day of the week- Tuesday is "card day".

Personalized gifts are always so nice. I hope that my son's teachers understand how much I appreciate all that they do!

Other gifts I am giving this week:
Starbucks gift card {"sweet treat" day}
Flower + Seeds {flower day}
Target Gift Card {teacher's favorite gift day}

What are you giving for Teacher Appreciation Week?
 photo mommy-sig_zps6a343660.jpg

Friday, November 22, 2013

Friday Favorite: Kraft Paper Table Runner

Who doesn't love kraft paper? There are lots of uses for this wonderful roll of creative possibilities, a quick Pinterest search will give you ideas for days.

Today, I'm sharing my favorite way to use kraft paper! It's also a mommy machine secret because it pulls double duty- kiddo distracter and makes for easy clean up!


I keep a piece of kraft paper on my dining table {almost} all the time.  It is great to keep the kids busy when they feel like sitting down and coloring regardless of what time of day it is. It also comes in handy at meal time. I will brush crumbs off, but if we have a messy meal (like spaghetti), I can simply fold up the paper, toss it, and my table is clean! Usually, one piece of paper lasts us a few days- as long as you don't mind a few water rings, small smudges, and lots of doodles.


I like to write things on the paper to give us something to talk about at dinner too. Here, I've written "what is one thing that made you laugh today?" as a prompt. While we are eating dinner we will all answer the question!


This can easily be adapted for holiday dinners and parties- use holiday specific questions like "what is one thing you are thankful for?" and you can even write questions by each plate and the person sitting at that spot has to ask the question and answer first!

There are endless possibilities with kraft paper, but this is my "friday favorite" and one of the best mommy machine secrets in my arsenal, too.

Monday, November 11, 2013

Kid Craft: Thanksgiving Place Cards

Thanksgiving is right around the corner!

I love Thanksgiving, it's my favorite holiday. It has all the best things- family, friends, food, gratefulness, and none of the hassle or stress of gift giving.

I want to share a fun kid craft project that is kind of a mommy machine secret for 2 reasons: 1- it easily and inexpensively adds a fun touch to Thanksgiving decor, 2- it keeps the kids busy for a while so you can check a few things off your list. :-)


Speaking of lists, Jess shared an awesome Thanksgiving hostess checklist last week you should check it out!

For this fun project, to begin with, you will need card stock and fall colored crayons. Later, you will need scissors and a sharpie.
We used yellow, red, orange and brown crayons.

Little Miss was taking a nap so I sat my Little Man at the picnic table outside and told him I needed him to help me with a special project. {This would also be a great thing to do inside on a rainy day}
I asked him to draw the fall trees he saw with all the different colored leaves falling.
{I would have just given my 2 year old the crayons and let her scribble- this would give you a similar effect}

Here's what he drew :-) I helped him add some more "falling leaves" (aka lines and circles) to fill most of the page. Notice how the paper is laying "wide", not "tall" this is important for the next step.

I folded the paper in thirds the "wide" way and then in 5 sections the "long" way. See the picture to see my segments. Using scissors, I cut along the wide creases- 3 sections. Then, cut every-other fold along the long creases, giving you 2 place cards coming from each of the 3 sections (since you have 5 long creases, you won't use one of these sections). 6 place cards per page.
Don't cut every crease! You will want to make sure you leave a crease where your card will fold.

 Fold the card along the middle crease again (you already have a crease, just make it crisper). Using a sharpie, write a name on one side of the card.
 Voila!
Fun and easy place cards. You could easily add embellishments- glitter, feathers, ribbon, etc. depending on your child's skill level.


Wednesday, October 30, 2013

Create: Bulletin Board Re-Vamp

Happy Halloween! :)

I have a huge bulletin board in my office that has been needing some attention. Let's face it, the things are pretty ugly. I mean, that's why we plaster them with pictures, notes, announcements, schedules, and other odds and ends. Although they get covered up with all of these things, I really wanted the bulletin board to look pretty. And fun. And gray. And chevron-y. Yes, chevron-y. I just made that up.


Enter: Hobby Lobby and their fabric department. Lucky for me they had exactly what I was looking for... and it was on sale. Obviously this bulletin board re-vamp was meant to be.

You just need a few things:
bulletin board
fabric
measuring tape
scissors
staple gun
staples


Start by measuring your bulletin board if you don't already have the dimensions.


Then, find a fabric you adore at your local craft and fabric store. Be sure you ask for a little more length than you need- you want the fabric to wrap around the edge of the board.

Lay out your fabric, pattern side down, on a flat surface. Place bulletin board on top of fabric, cork side down. Be sure to center your bulletin board so you have an even amount of fabric on all 4 sides... if you're particular. If you're not, that's ok too. But, I'm kind of particular.

Moving along...

Wrap the extra fabric around the edge of the bulletin board and on to the back of the board. Start with any side and start stapling away. Be sure you're pulling the fabric tight- you don't want it to bunch up or be loose on the front side of your board.


This bulletin board had 2 brackets for hanging, so we had to use a scissors to snip a small hole in the fabric to allow the brackets to be exposed and be used. 

 Pull the bracket through the fabric carefully. 

 Staple right underneath the bracket after you've exposed it. 

Once you have everything stapled, you're done! You could get creative and add embellishments if you want. I kind of like simple and the chevron was just enough for me. Anything more would make it too busy, but that's just me.

Have a super simple craft? Let us know about it! We might try it out and feature it in a future post!

Friday, September 27, 2013

Frame Makeover & Interchangeable Photo Collage


I confess to being a mammarazzi and taking lots and lots of pictures of my kids. The problem is that they sit on my phone or computer. I make a yearly family photo book, so that helps, but there are still lots and lots that never get printed.

I have two frames in my dining area that have had the same poster prints in them for 6 and a half years. I think it's time for a change! I also recently downloaded the Shutterfly app (not a sponsored post) where you can easily print 4x4 photos from your phone- these can be pictures from your iphone or your Shutterfly albums.

Frame makeover meets new photo app for a fun project!

Frames before
Here's what I bought:
Burlap
Spray adhesive
Glue dots
24 4x4 pictures
I already had the two 16x20 frames

Using Spray adhesive, I glued the burlap to the back of the frame (the part that it usually hidden by the picture). Then, I reassembled the frame.


Using glue dots, I stuck the pictures in a grid pattern. I didn't even measure so some pics might not be exactly in line, but I haven't seen any big mistakes yet ;) I tried using double sided tape to hang the pics, but glue dots stay much better because they adhere to the texture of the burlap better.


I didn't put the glass back in the frame, but you could if you want.  I also didn't use permanent adhesive (like hot glue) because I want to change the pictures out often. My plan is to order a few pics at the beginning of every month so that we always have new pictures to look at.
 
Frames after

These frames hang in our eating area so it makes for fun dinner conversation to talk about the fun things we are doing in the pictures. All in all, this quick and easy project makes my mammarazzi heart happy!

Monday, September 2, 2013

Fall Bucket List

 Happy Labor Day everyone! We hope that you are all enjoying a nice long weekend.

Since September is here, we are preparing for Fall. Yes, Fall. In Oklahoma, September is a transition month where we could have some super hot days, or we could start to see the milder Fall temperatures.

Either way, September means Fall is right around the corner.

To be properly prepared, Jess and I are sharing our families' Fall Bucket Lists! There are so many fun things to do in the Fall- it's nice to have them all written out to you can check them off as you go. With football, school commitments and holiday prep, weekends in the Fall can get away from me. I love having a "bucket list" to reference so I can be sure to make time for (read: not forget) everything we want to do.

Today, I'm posting the list for my family (Jess will share on Friday).  I tried to keep my bucket list simple. Nothing on my list requires a lot of prep or planning (even the football party will be super simple). That's the way I like it.


I have always wanted to make homemade applesauce. This year I plan on making a lot! We have a tradition of going to Oklahoma State University's Homecoming Celebration. It is the greatest in the nation so it made the list for sure. I've tried to keep our fall traditions and add in a few fun things for us to try out this year... with any luck, all of these will be checked off by mid-November!

Friday, June 21, 2013

Friday Favorite: DIY Outdoor Storage

Isn't it amazing what spray paint can do?

I did this project a couple of years ago and these buckets still look great! Back then Little Man was starting to accumulate outdoor toys and we had zero storage. I needed outdoor storage for things like trucks, balls, shovels, etc.

I picked up a couple of galvanized buckets at Lowe's and some spray paint.

I used painters tape to tape off stripes on the red one. I decided to leave the blue one solid, but stripes would have been cute there too.


After taping off the stripes, I spray painted both buckets different colors. Once the paint was COMPLETELY dry, I took the tape off and, voila! Super simple, cute storage.


The kids can carry these buckets with them all around the yard. They make play time and clean up easy peasy. That's why they are a Friday Favorite.

Friday, April 5, 2013

Friday Favorite: Art Station!

Our "kid art station" is a major time saver for me. I used to spend a lot of time gathering markers, crayons, paper, random crafty items only to have them strewn about my kitchen table and abandoned 30 minutes later. Then began the process of cleaning up and finding homes for all of the stuff.


One day, I decided to make a home for all the stuff. Voila! Art station.


I used a galvanized tray so I can move it from the laundry room to the table and back again.  The cups are just plastic kiddie cups I had in the cabinet. The blue box in the middle is actually from a desk in Little Man's room. {we can't use the desk to store everything because Little Miss drags it all out, thus adding to my need for art organization}


Here are the craft/art supplies we keep on hand:

Markers
Crayons
Paint (finger paint and water colors)
Paint Brushes
Paper
Coloring Books
Stickers
Chalk
Pipe Cleaners
Playdough
Yarn

Tuesday, March 26, 2013

Tip for Tuesday: Bottom of the Bottle Paint Remedy

My kiddos love to paint. I mean love it. Yesterday, we got out the paint and realized the bottles were almost empty. Basically, any paint that was left was dried to the side of the bottle. Since the Easter bunny told me he was bringing new paint, I didn't want to go out and buy a brand new box.


Here's what I did to give new life to the little paint we had left: 

1. Add a small amount of water to the paint bottle. Start with a very small amount- you can add more later if need be.

2. Twist the cap back on and give the bottle a good shake.

3. Mix the paint and water around with a paintbrush. I've found this is the best method because you can get in all the hard to reach places of the paint bottle.


Your kiddos will have enough paint to be creative for a few more days while you make time for a Target trip!

We would love you to share your favorite tip with us. We might just try it out and feature you and your idea on Tip for Tuesday! 

Wednesday, March 13, 2013

Create: Spring Wreath Time!

I'm kind of obsessed with wreaths. A wreath for every season is a must in my house; although I must admit, I tend to use the same wreath every year because, well, I get lazy life gets crazy.

But, when I get the itch to do some crafting... I get 'er done. I mean, I get it done. Ya know, sometimes I just can't hide my Minnesota accent... even in writing. But I digress...

This wreath is simple to make, so grab a Starbucks, put the kids down for a nap, crank up your favorite music, and get your craft on!

What you need:
1 grapevine wreath
Artificial flowers
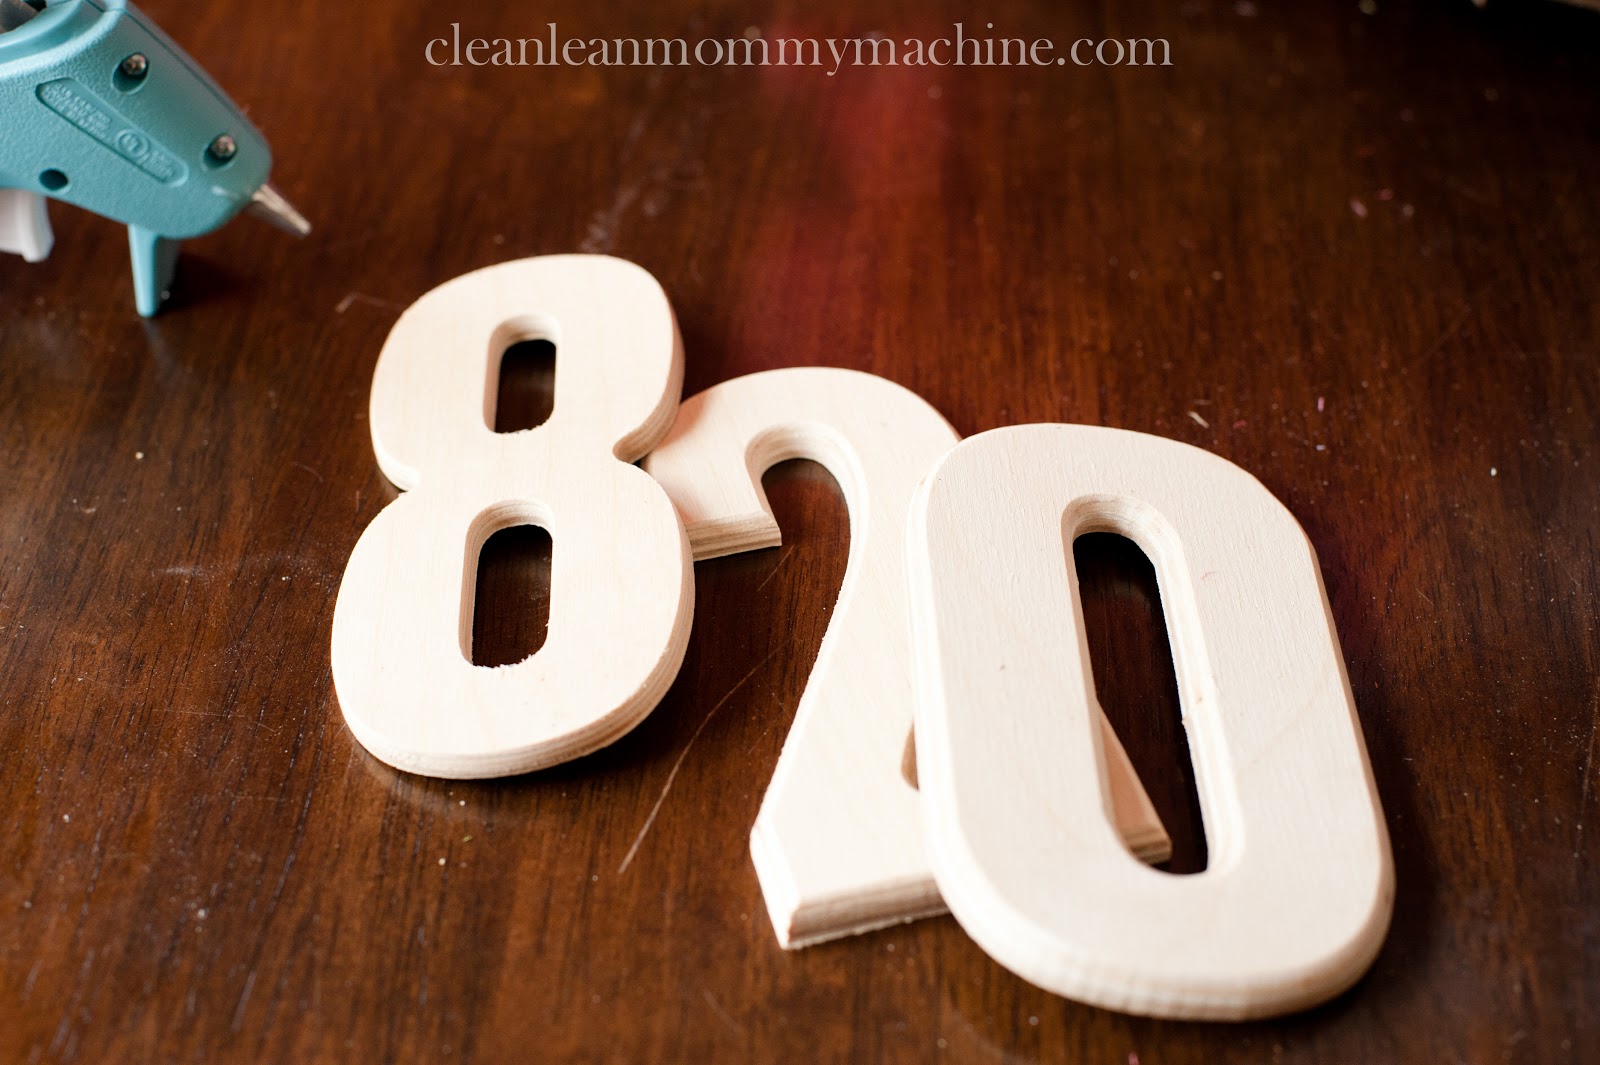
Wood numbers
Craft paint
Scissors 
Hot glue gun


I had two sets of flowers; the same type, just different colors. They came in a big bunch, so I needed to separate them into smaller bunches by clipping them. 


Then, I positioned them by weaving them through the grapevine. There were a few places where I used my hot glue gun, but for the most part, the flowers should stay without glue.

Of course, my perfectionism kicked in at this point.
This step took much longer than I intended.

On day 2... kidding. Maybe.

I painted the numbers white. 

Use a little hot glue to get the numbers secure. I suggest hanging the wreath right away, or you'll find all the tiny flaws and it might take you 3 more days to perfect it. I mean, not saying that happened to me or anything... 

Spring is just a few days away and I am super excited to get this wreath up! 

What do you do to prepare for spring?

Linking up at Daisy Cottage Designs today. :) 

LinkWithin

Related Posts Plugin for WordPress, Blogger...