Wednesday, November 13, 2013

More Secrets to Creamy Mashed Potatoes


A while ago Lynns posted her secret to creamy mashed potatoes, and you guys just loved it! With Thanksgiving around the corner, I wanted to give you a few other tips to get creamy and rich potatoes. Just be sure to do these things in addition to our other tip about mashed potatoes that I mentioned above- it's an important one!


#1-  Cream cheese.

Here are a few things to keep in mind when adding cream cheese to your potatoes:
  • 1 block of cream cheese for every 5 lbs. of potatoes is a great starting point. Add less or more depending on how many you're making, or your preference for richness.
  • Scale back on the butter and milk- add only half of what you normally would add. 
  • Do this in addition to the tip Lynns shared. 
  • This is an indulgence- everything in moderation! :) 

#2-  Red potatoes. 
  • The texture is much smoother than russets, which will result in a creamier texture! 

#3- Use an old school potato masher.
  • Step away from that hand mixer. It may take a few extra minutes to mash the potatoes, but I promise you won't miss the "gluey" texture a hand mixer tends to create. 

My favorite way to season potatoes is with a mixture of regular sea salt and seasoned salt, as well as pepper. It's simple, but so delish! 

How do you make your potatoes? Do you add anything to mix it up on Thanksgiving, or do you make traditional mashed potatoes? 

Tuesday, November 12, 2013

Tip for Tuesday: Thanksgiving Table Decor

Every year I host Thanksgiving, and every year my table decor is the first to be knixed from my list of things to do. No matter how well I prepare, I seem to find myself cutting something from the list that I don't feel is "as important". Then, when the day arrives I scramble to find something to put on the table to make it fun and festive! 

I've realized that I make this much more complicated than it really is, and even the simple things can be the best! Here are a few of my inspiration pictures from across the web!

Love the simplicity of this from Just Us Four

A little rustic charm at the table- DIY or buy them here

White pumpkins are my favorite! Image from Good Housekeeping

I really love how different this is. You could even do mini pumpkins in here! 

How do you decorate your Thanksgiving table? 
If you don't host, what would be your favorite way to decorate?


Monday, November 11, 2013

Kid Craft: Thanksgiving Place Cards

Thanksgiving is right around the corner!

I love Thanksgiving, it's my favorite holiday. It has all the best things- family, friends, food, gratefulness, and none of the hassle or stress of gift giving.

I want to share a fun kid craft project that is kind of a mommy machine secret for 2 reasons: 1- it easily and inexpensively adds a fun touch to Thanksgiving decor, 2- it keeps the kids busy for a while so you can check a few things off your list. :-)


Speaking of lists, Jess shared an awesome Thanksgiving hostess checklist last week you should check it out!

For this fun project, to begin with, you will need card stock and fall colored crayons. Later, you will need scissors and a sharpie.
We used yellow, red, orange and brown crayons.

Little Miss was taking a nap so I sat my Little Man at the picnic table outside and told him I needed him to help me with a special project. {This would also be a great thing to do inside on a rainy day}
I asked him to draw the fall trees he saw with all the different colored leaves falling.
{I would have just given my 2 year old the crayons and let her scribble- this would give you a similar effect}

Here's what he drew :-) I helped him add some more "falling leaves" (aka lines and circles) to fill most of the page. Notice how the paper is laying "wide", not "tall" this is important for the next step.

I folded the paper in thirds the "wide" way and then in 5 sections the "long" way. See the picture to see my segments. Using scissors, I cut along the wide creases- 3 sections. Then, cut every-other fold along the long creases, giving you 2 place cards coming from each of the 3 sections (since you have 5 long creases, you won't use one of these sections). 6 place cards per page.
Don't cut every crease! You will want to make sure you leave a crease where your card will fold.

 Fold the card along the middle crease again (you already have a crease, just make it crisper). Using a sharpie, write a name on one side of the card.
 Voila!
Fun and easy place cards. You could easily add embellishments- glitter, feathers, ribbon, etc. depending on your child's skill level.


Friday, November 8, 2013

{Friday Favorite} Bouncing Woolies + GIVEAWAY!

This post is not a sponsored post, however the giveaway is sponsored and provided by Bouncing Woolies. All opinions are my own.

I am so excited to share this product with you all! I met the owner of Bouncing Woolies when our kids were in swim lessons this summer- good times. She shared with me the product information and I knew I had to try them out! A few months ago I bought 4 BW's and I've been bouncing ever since!

I really can't believe it took me so long to find Bouncing Woolies. Since buying them for myself, I have recommended them to so many of my friends and there is a good chance some BWs will be showing up in some Christmas stockings this year!

They make great gifts for new moms, any mom really... actually, they are great gifts for anyone who has to do laundry! College students would love them because they replace expensive fabric softener or dryer sheets and they dry clothes faster.


Here's why I love them:

They are great for my family's skin sensitivity.
I bought 4 Bare Naturals Wool Dryer Balls and left them unscented. I don't have to worry about scents, dyes, or other irritants that could aggravate Little Man's eczema!

I know a lot of moms who use BWs when they dry their cloth diapers because they are safe for baby's sensitive skin.

They make our laundry fluffy.
You leave the BW's in the dryer and can completely forget about using fabric softener or dryer sheets. You won't miss those products at all! Clothes, towels, and sheets come out fluffy every time. Now that dry winter air is setting in, I have noticed a little static cling, but not as bad as drying clothes with nothing in the dryer.
photo courtesy of bouncing woolies
You now how people recommend throwing tennis balls in the dryer with comforters? With BW's you don't have to do that! They really help to keep bulky items from balling up.

Laundry dries faster!
Less drying time=saving money. Who doesn't love that? Even with just 4 BW's I have noticed a difference in drying time. The more BWs you add the faster laundry dries.

If you don't have to worry about sensitive skin issues, you can add all natural scents to your BWs and they have some super fun color combos too! Their website has some great stuff- check it out here.

I love my BWs so much that I asked the owner if she would do a giveaway because I want one of our readers to get to try these out asap! So, if you "like" Bouncing Woolies and CLMM on Facebook using the Rafflecopter entry form below, you will be entered to win a set of
2 FUNKTastic Wool Dryer Balls!
You can even chose what scent you want added!

photo courtesy of bouncing woolies
The giveaway ends on November 15th at 12:00am and the winner will be chosen at random and notified my email! We will announce the winner on Facebook so enter and cross your fingers 'cause you're going to want to win!!


a Rafflecopter giveaway

Wednesday, November 6, 2013

Thanksgiving Hostess Checklist

Wow, it's already November. How in the heck did that happen so fast?

Ever since my family and I moved back to Minnesota 3 years ago, we have always hosted Thanksgiving and Christmas Eve at our house. It's fun to gather family in our home, but it also takes a lot of prep and work. I find myself singing "Cinderelli, Cinderelli!" the entire week leading up to Thanksgiving. More often than not, I'm ready to pull my hair out and order pizza come Thursday morning. :)

In an effort to get me to chill out, A always asks, "What can I do to help?" and I normally look at him and say, "Do you not see the mess? Just start cleaning.". What I've come to find out about husbands, or, at least my own, is that they need direction. Hubs needs a list- a list that is detailed and extremely specific- for two reasons: #1 being he is lost without details. #2 is that his wife is a little particular (I've come to love and accept this... ha ha!). Honestly, I love lists as well, so it only makes sense to keep one that both of us can refer to while getting ready for the holidays.

In addition to the Company's Coming list we've shared on the blog, here is a list specific to hosting Thanksgiving- or any holiday, really!


3-4 weeks prior

  • Decide if you'll do all the cooking, or if you'll hold a "potluck style" dinner. 
  • Create guest list
  • Mail invites or call/e-mail guests. If you're holding a potluck style meal, be sure to assign each person a food to bring. You can assign a category such as "dessert" or be more specific, like "pumpkin pie". 
  • Take inventory of your dinnerware

2 weeks prior
  • Finalize your menu. This is especially important if you're doing all the cooking! 
  • Decide if you'll do a "buffet style" dinner or a "sit down" dinner.
  • Test any new recipes you'll be making. 
  • Create your shopping list. Be sure to include spices- they can be easily overlooked. 
  • Shop for all non-perishable foods and the turkey. This way you beat the crowds! 
  • Purchase tablecloths, napkins, dinnerware, center pieces, or any other decorations to make the meal fun and festive! 
  • Complete any deep-cleaning tasks that you have on your to-do list. Baseboards, refrigerator, and oven-cleaning are just a few that I typically do. 
2-5 days prior
  • Figure out cooking times for all the dishes you're preparing, and come up with a game plan. I always make a list so I know what time each dish should be put in the oven, on the stove, etc.
  • Thaw turkey- depending on the size, you may need to start this a few days earlier. 
  • Prepare pies (if they are freezer-friendly)
Day before
  • Double-check to be sure you have all the ingredients you need.
  • Shop for veggies and any other perishables. Wash and trim your veggies, then store in a ziploc bag in the refrigerator. 
  • Prepare pies and other foods that will hold well overnight. This might include cranberry sauce or pies. 
  • Do light cleaning tasks- clean bathroom, sweep and mop floors, etc. 
And that, my friends, is how I make it through being our family's Thanksgiving hostess every year!

Do you have a game plan for Thanksgiving? Will you be a guest or a hostess this year? 


Tuesday, November 5, 2013

Tip for Tuesday: Pinterest Ideas


There are some pretty great ideas floating around on Pinterest. We all know this.

Jess and I have created a board on our CLMM Pinterest account for "Ah ha Moments"! You know, those things that make you say "oh! That's how you do that!" or "I'd never thought of it that way. That's brilliant!"

Here are 3 of my favorites:

There wasn't a website for this, just a pic so here's the link to the pin.

This is a genius idea from Moser Moments!

Simply Healthy Family does a great job of showing how to shred chicken in your stand mixer. I do this all the time! 

Here's the link to our Ah Ha Moments board too :)

Monday, November 4, 2013

{Clean & Lean} Bathroom Work Out

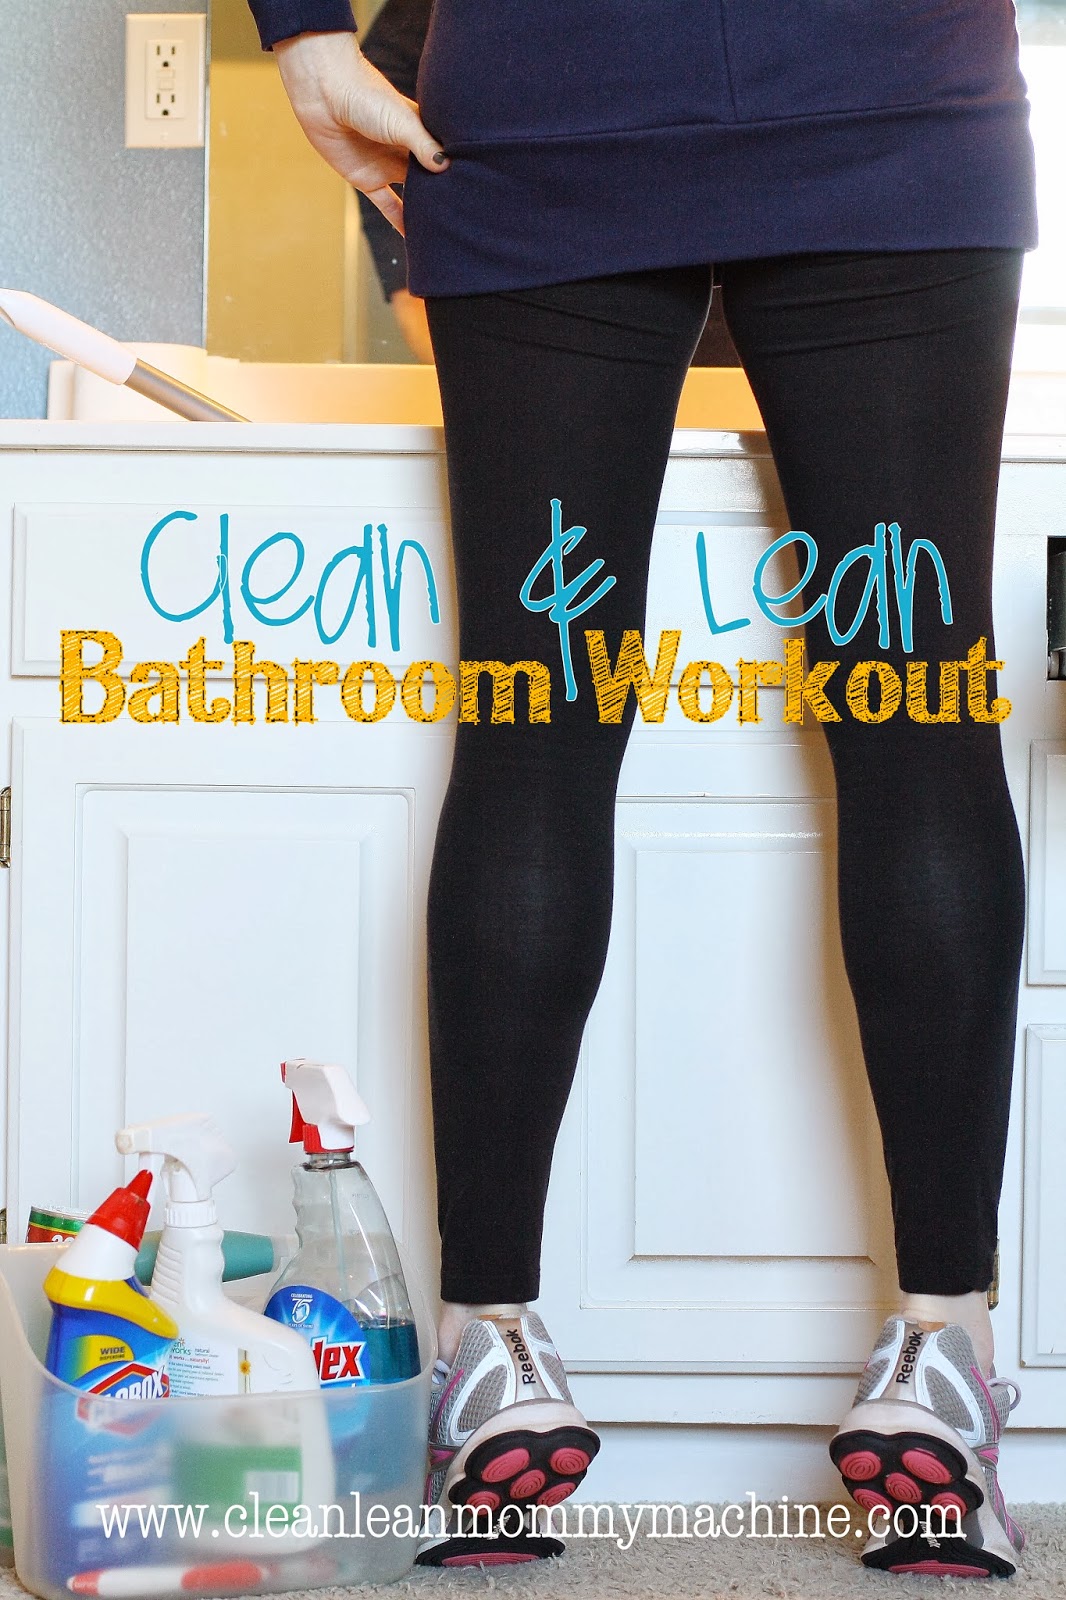
Clean & Lean is all about maximizing your movement. You can do this just about anywhere, but a great opportunity to really get a great workout while you clean your house is in the bathroom.

I'm all about doing two things at once- like cleaning the mirror while toning my calves. {check}


Proper Form
To begin with though, let's talk about proper form. You always want to keep your abs tight, like you are sucking your belly button in toward your spine. This will help to strengthen your core and protect your back from injury.

Speaking of your back, don't slouch. This may sound like etiquette, but it actually helps to safeguard your back from pulls and strains.

Basic Muscle Toning
Now that your core is in line, take a minute to think about the muscles you will be using while cleaning.  Typically your arms benefit the most from scrubbing and wiping down surfaces, your legs benefit from reaching and bending.

If you can think about the muscles you are using in the basic cleaning motion, you can focus on isolating them. Really use your arm muscles when you are cleaning the countertops. Make sure you are switching which arm is doing the work. For example, we have a double vanity so for the left sink, I use my left arm to clean; for the right sink, I use my right arm.

When cleaning the sink I try to make sure that my biceps and triceps (upper arm) are engaged. THink of this as putting a little elbow grease into your cleaning. How hard would you scrub if you had peanut butter all over the counter? That's the pressure you want, but don't scrub super fast. Slow and controlled movements are best for toning.

Cleaning counter and doing butt kicks. Lots of muscles working!

Multiple Muscles at Once
Now that you are thinking about what muscles you are working already, let's kick it up a notch and add in other large muscle groups.

When you are doing things like scrubbing the toilet, chances are you have to bend a little, and you are already using your arms. This is a great opportunity to work some leg muscles too!

Add in a squat, see how long you can hold proper form while scrubbing. Once you feel more coordinated you can try to do squat repititions, or try to do a split squat (feet a little more than shoulder width apart, lower your bum like you are going to sit on a chair) and raise your heels while holding the squat. This works your calves, quads, glutes, and abs- in addition to your arms that are working too!

Here are some other ideas:
Calf raises while cleaning the mirror
Lunges while cleaning the tub (use one of those nifty scrubbers with an extendable handle)
Side lunges while cleaning the counter tops
Butt kicks while cleaning sinks
Moping Arms while cleaning the floor

Lunges while tub cleaning!
It might take a minute to get used to the new movement, so make sure you take it slow at first. After a couple of tries I promise you will feel the burn and start to see a difference!

Clean bathroom and toned muscles- win win!!

LinkWithin

Related Posts Plugin for WordPress, Blogger...